

If you want to get more from your content marketing, then you need to stop thinking of your content as ‘stuff you use to fill your website’. Instead, you need to start thinking of content as though it were a product. This is a product that is just as exciting as anything you might sell and as such, it deserves all the same buzz, marketing, and attention.
And this means that you need to adorn your content with the right images and the right layout to make it look beautiful. This makes a huge difference to the tone and impact of what you write: so make sure that you get it right.
The problem? Getting stunning images can be hard. Stock images are expensive and using images from Google Images often means facing copyright issues. At the end of the day, using ready-made images is never as good as creating images yourself any way though, after all: an image you create yourself will perfectly suit the topic of your blog post rather than looking generic and only vaguely relevant.
Fortunately, if you can invest in a good camera – even a decent phone camera – then you can start adding impressive images to your content that will take it to the next level. You just need to learn a few tricks to get elevate your images to a professional standard.
Focus
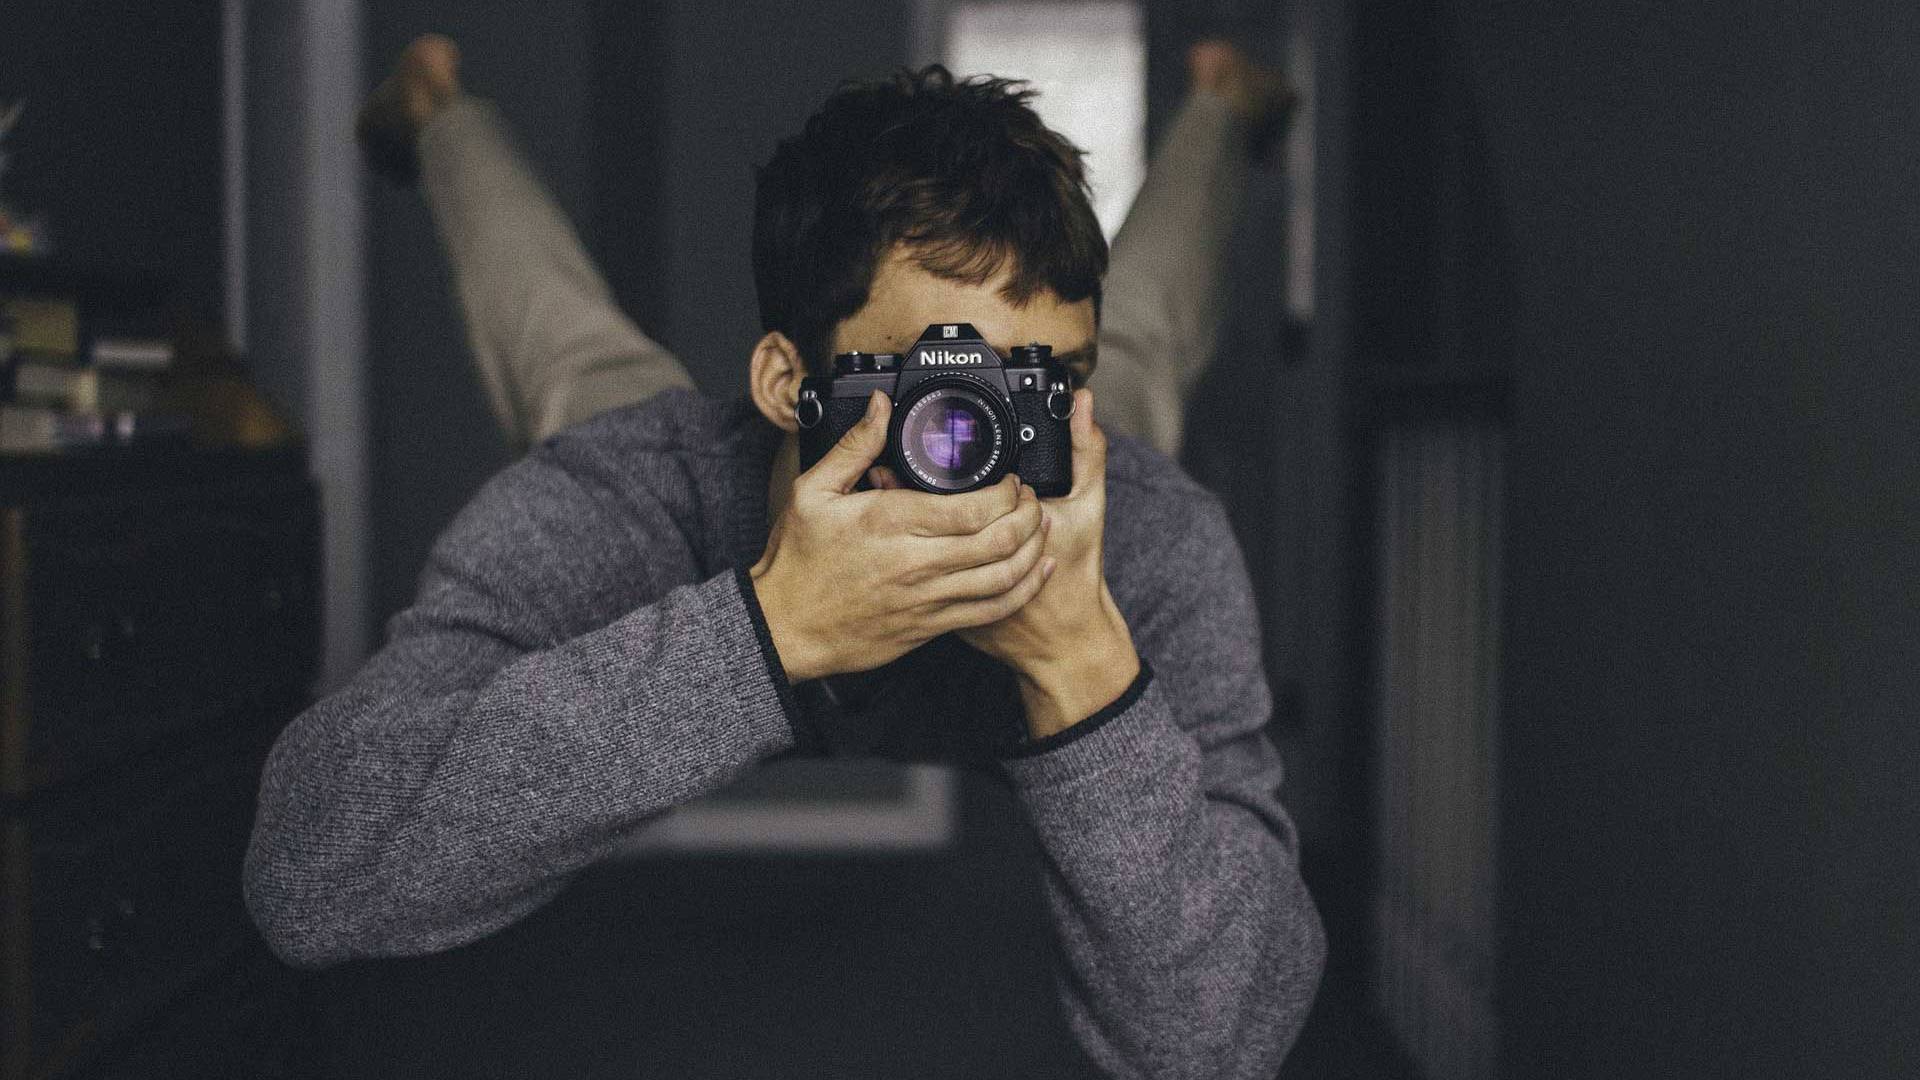
One of the best tricks for making an image look professional is to use a shallow depth-of-field and to create a macro effect. This basically means you’re going to place the object in the extreme foreground and then focus on that so that everything else blurs into the background.
This is easy to do. On a smartphone, you simply need to double-tap on the object in the extreme foreground and subtly change the distance until the camera locks on. If you have a DSLR or a mirror-less camera, you can do the same thing by setting the camera to ‘manual focus’ and then changing the focus until it looks just right.
Composition
When photographing something up close like this, whether it is a keyboard, a phone, a dumbbell, or anything else, it can often be fun to get a more dynamic angle. An upward shot will make the object appear larger and more important for example. A downward shot will allow you to give more billing to nearby objects.
Don’t just shoot objects head-on. Think about more interesting angles and positions. How about putting the subject on the left-hand side of the frame? What could you add in for scale?
Storytelling
Understand the objective of your photo is to tell a story. It shouldn’t just decorate the page, it should add to your content.
Telling a story doesn’t mean showing something in action though. Often it means showing the aftermath or set-up to an event and then letting the viewer fill in the blanks. This makes them a more active participant in the image and thereby creates something more artistic and engaging.